In the ever-evolving landscape of business technology, the ability to customise AI solutions to your specific needs is not just an advantage, but a necessity. Azure OpenAI, a platform at the forefront of AI innovation, now offers the compelling capability to integrate your own data, opening a realm of personalised AI applications. For IT professionals and business leaders looking to tailor AI tools to their unique business challenges, this step-by-step guide provides a straightforward pathway to harness the power of Azure OpenAI using your data. Whether you're aiming to enhance customer interactions, streamline operations, or unlock new insights, the journey begins here, in the realm of custom AI solutions.
Prerequisites:
- Have an Azure subscription. If not, create one for free.
- Obtain access to Azure OpenAI in your Azure subscription, which requires registration and is available only to approved enterprise customers and partners.
- Deploy an Azure OpenAI resource with a chat model (e.g., GPT-3 or GPT-4). Ensure you are assigned at least the Cognitive Services Contributor role for this resource.
Adding Data in Azure OpenAI Studio:
- Go to Azure OpenAI Studio and sign in.
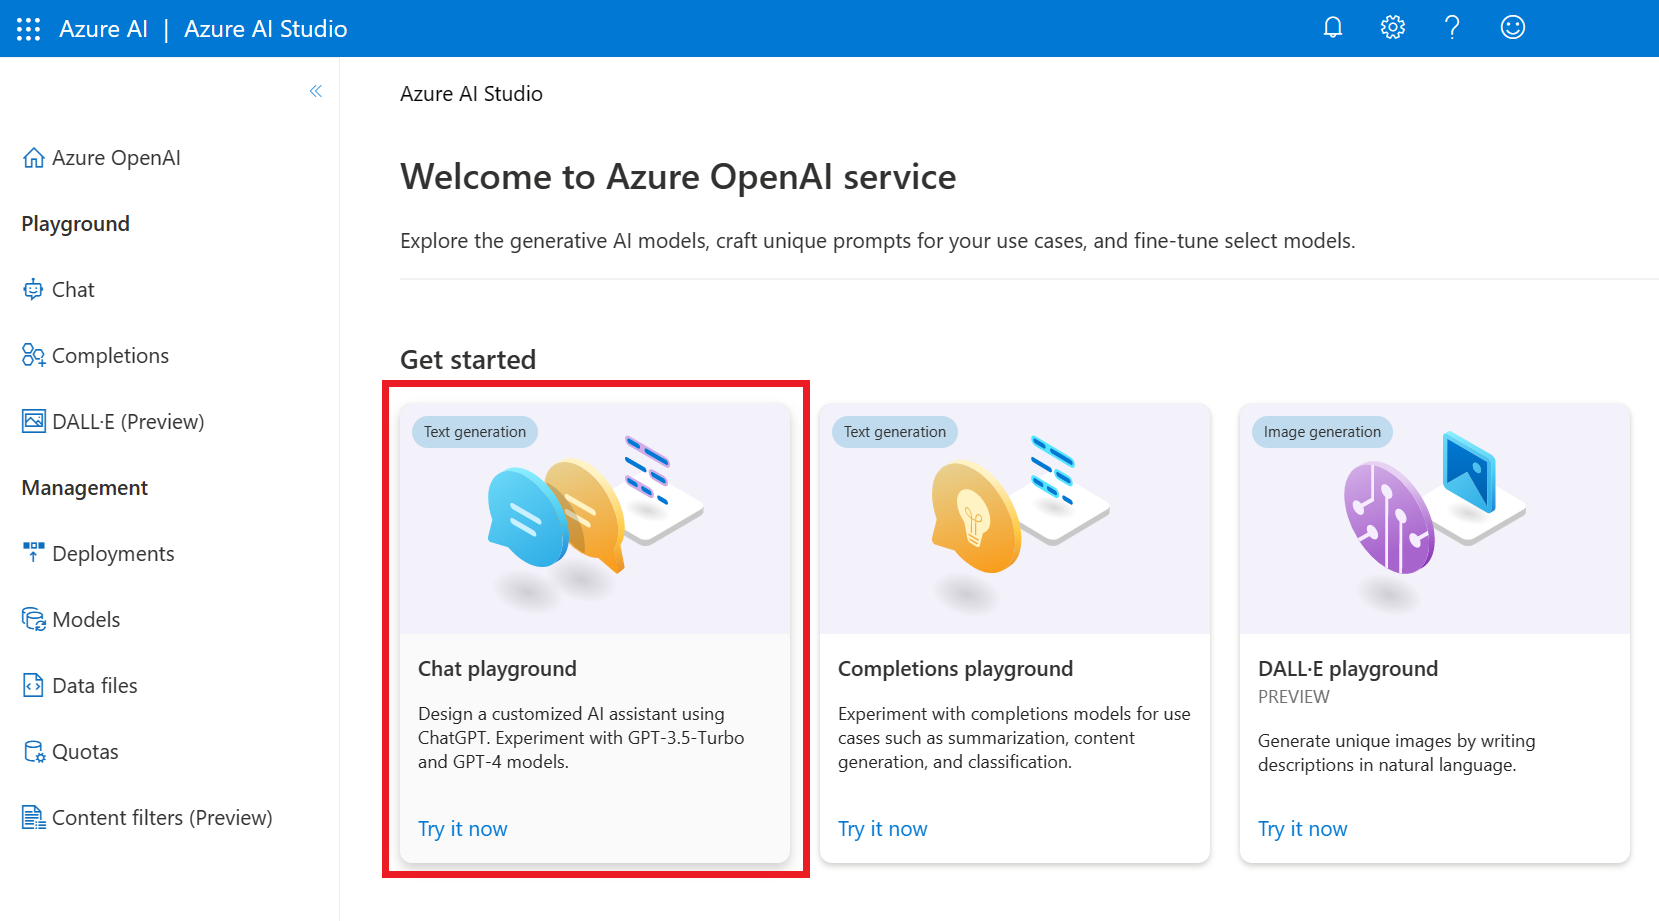
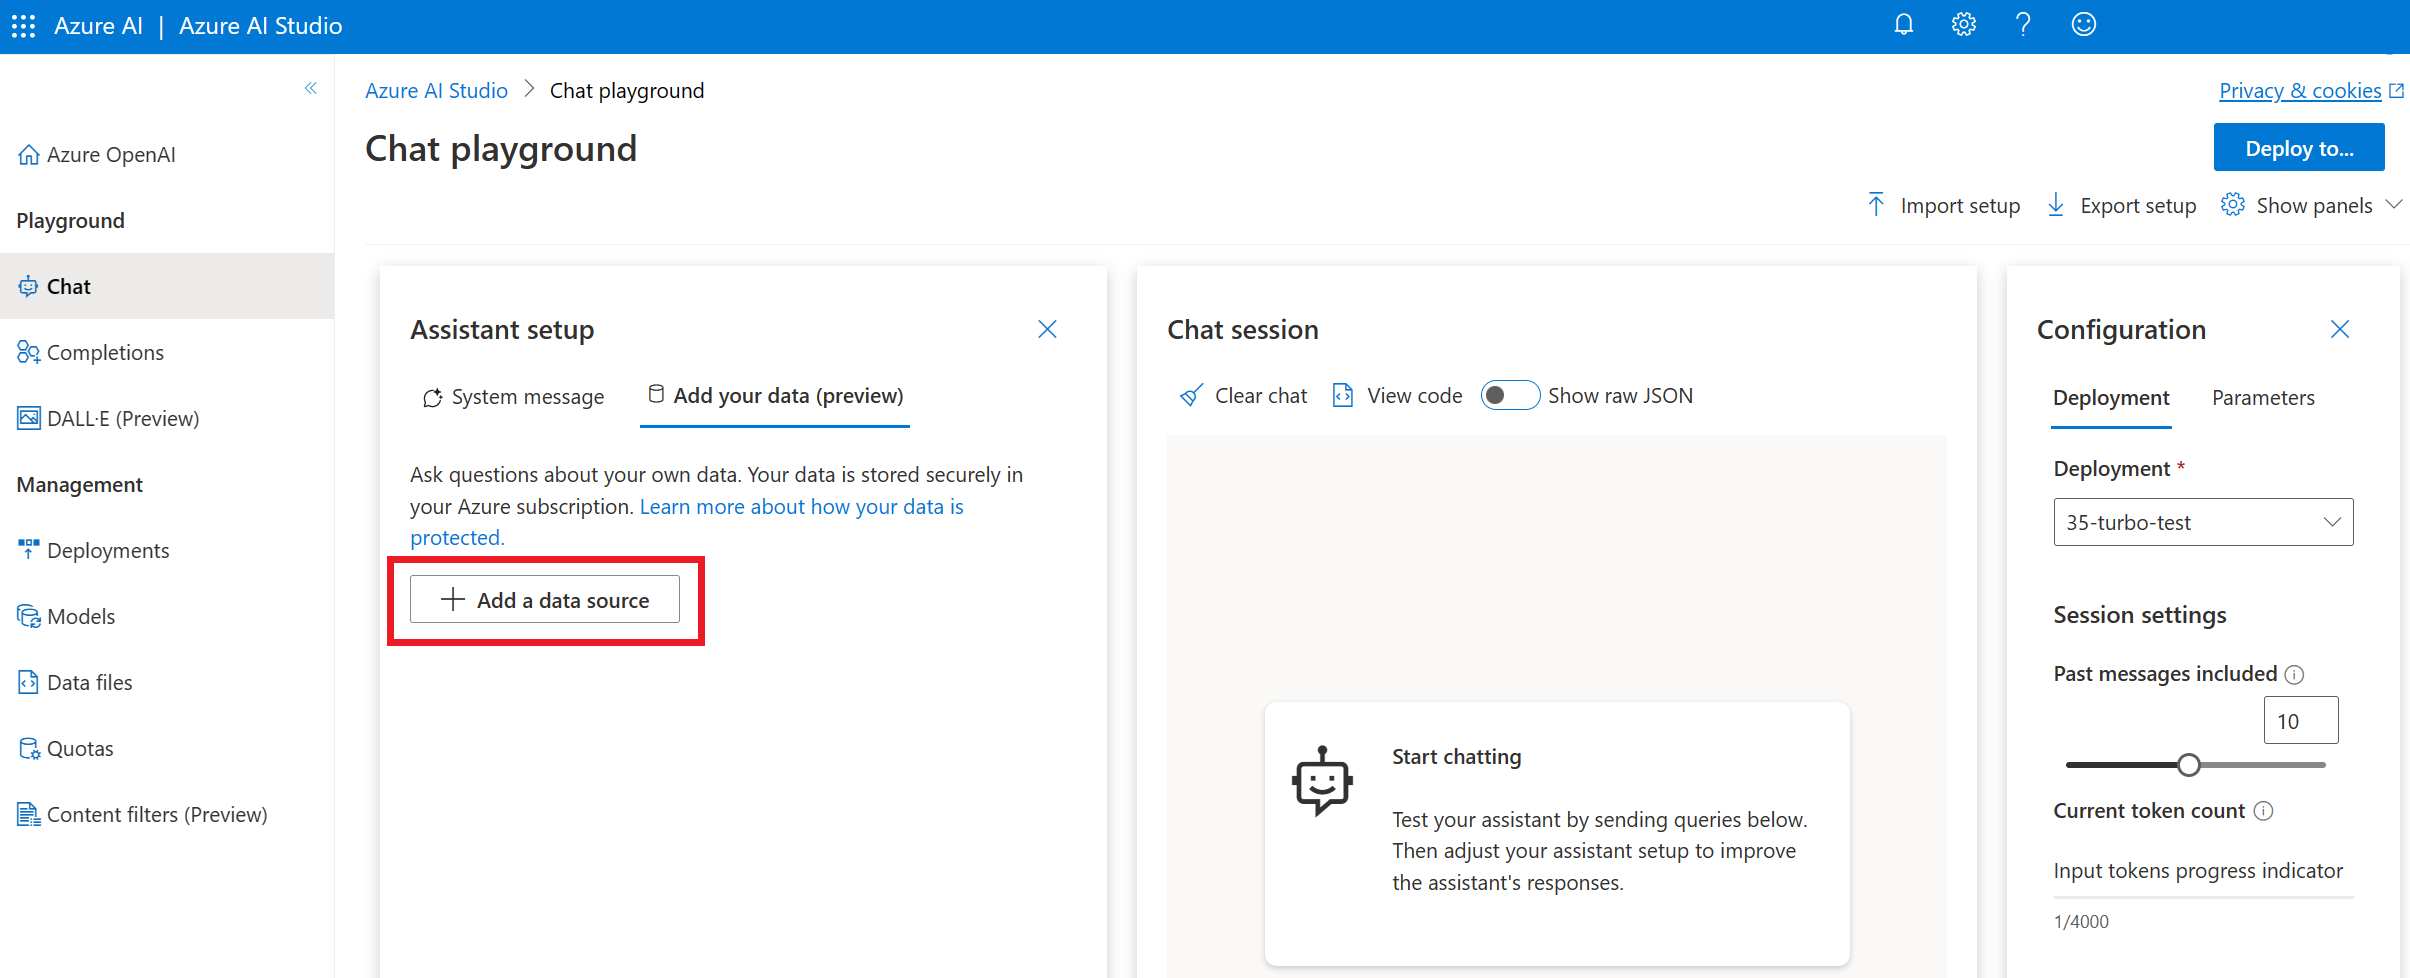
- Select the Chat playground tile and then, on the Assistant setup tile, choose 'Add your data (preview)' and then '+ Add a data source'.
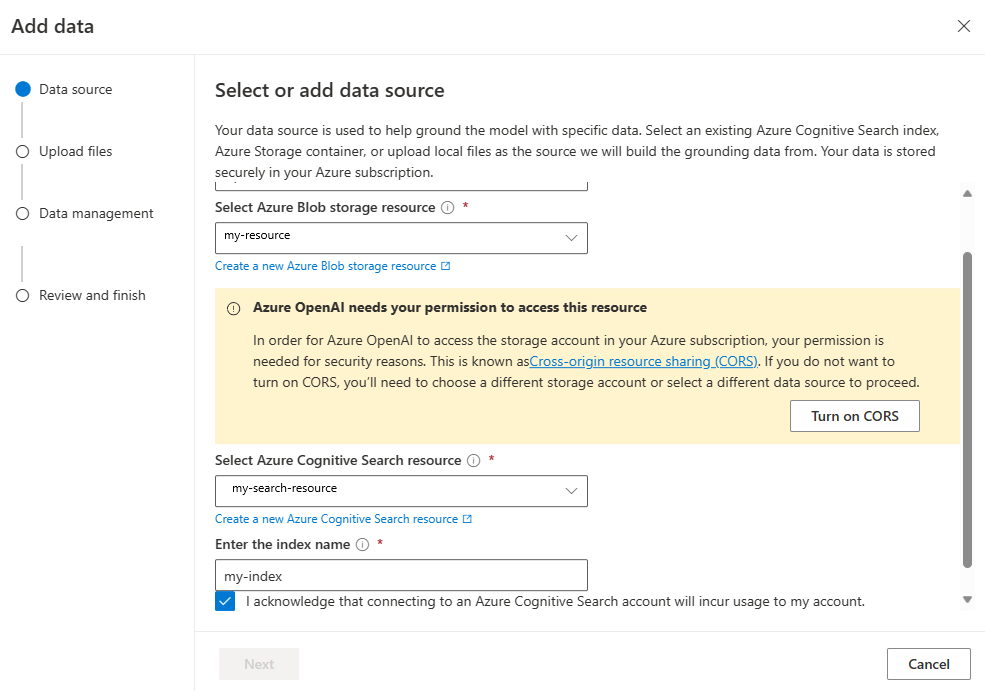
- Under 'Select data source', choose 'Upload files'. Azure OpenAI requires a storage resource and a search resource to access and index your data.


Uploading and Managing Data:
- In the 'Upload files' pane, browse and select files to upload, then click 'Upload files' followed by 'Next'.
- In the 'Data management' pane, decide whether to enable semantic search or vector search for your index, noting that these options may incur additional costs and that semantic search currently only supports English data.
- Review your details, then save and close. The model will now use your data for responses.

You can use keyword search as the search type for no additional cost.
To enable vector search, you will need a text-embedding-ada-002 deployment in your Azure OpenAI resource.
Currently Azure OpenAI on your data supports semantic search for English data only. Only enable semantic search if both your documents and use case are in English.
Exploring with the Chat Playground:
- Use the no-code chat playground to submit prompts and generate responses. Experiment with configuration settings like temperature and pre-response text to refine task performance.
- Utilise the 'Generate', 'Undo', and 'Regenerate' buttons to control the text generation process.
Deploying a Web Application:
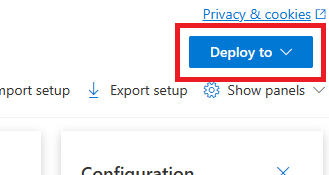
- Once satisfied with the Azure OpenAI studio experience, select 'Deploy to' to initiate the deployment process.
- Choose to deploy the model as a standalone web application or as Power Virtual Agents using your data.
- For a web app, create a new app or publish to an existing one, selecting appropriate subscription, resource group, location, and pricing plan.

❤️ Enjoyed this article?
Forward to a friend and let them know where they can subscribe (hint: it's here).


