
Report options are a powerful way of adding customisability to your reports that means you don’t have to have a designer to put a report into design mode to change a parameter or filter. Instead, any viewer license can define criteria when they go to run the report. Think of Report Options as definable filters that you can change every time you refresh a report. You define the option, and then point the filter in your Jet function (ie. NL, NF, etc) to the cell where the Report Option is located. So let’s see how we create them.
Two methods
There are two methods on how to create report options. We will be looking at the manual way of doing it first as I feel that this give you the most flexibility and freedom in setting up options exactly how you’d like them.
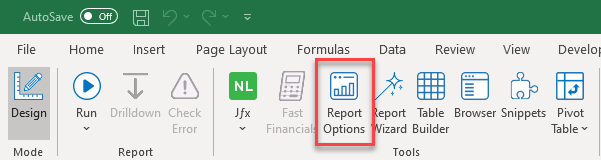
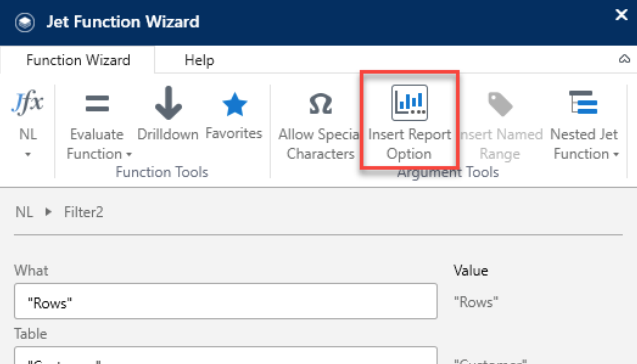
The other way is by using the Report Options button found in the Jet ribbon, or by clicking the Insert Report Option button in the Jfx window.
Tags
Tags are what we call the the type of data that we will enter into a particular column so Jet knows what it represents, and therefore what to use it for. There are a few required tags for report options to work, and some optional tags that add more information but aren’t needed for the fundamental operation of an option. Let’s first have a look at required tags.

Required Tags
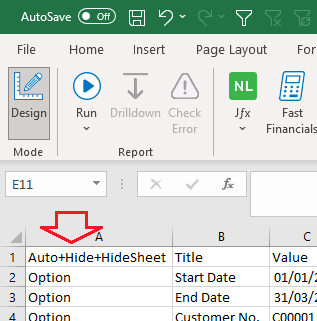
- Option - This tag must be used in column A for the row that will have your report option. This is to let Jet know that this is a user-definable option in the rest of the row
- Title - This must be used in row 1 and is used to define the title of the option. Where this intersects with the Option row defines the title of the option. In the screenshot above, we can see that the intersection of Option and Title at cell B3 will name the option as Customer.
- Value - This must be used in row 1 and is used to define the actual value of the option. Think of this as the filtercritera when doing filters. For example, if your option title is “Start Date”, then an acceptable Value would be “01/01/2022”. This is the part of the option where the user will specify the value in the Report Options popup box that will appear when they go to run the report.
Optional Tags
There’s 3 additional tags which can be used to improve functionality and guide the user on how to use the options. Much like the previous required tags, these tag names must be entered into row 1.
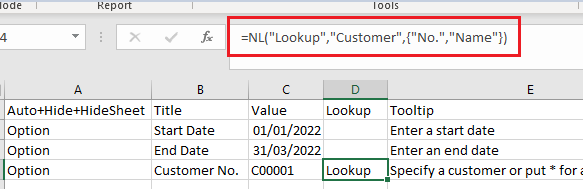
- Lookup - This lets the you select a value from a drop-down list. The data in the list can be directly from your ERP, or can be a list within Excel.
- Tooltip - When you hover your mouse over an option in the Report Option window, a tooltip will pop up. This is useful to provide the user with information on what the option is for and how to use it.
- Valid - This provides a validation check on the data that entered into the option and forces the user to only put in correct information. For example, you can force the user to only enter a date into a date option, or even a date that is in the past only, etc.

How to set up Report Options
As mentioned at the start of this article, I prefer to do it manually rather than through the Report Options button.
- The first thing I do is to set up an ‘Options’ worksheet. I like to keep all the report options in one place as they are then easy to find and change if needed. This is a “helper sheet” so I put Auto+Hide+HideSheet into cell A1 so when the report is run, this sheet is hidden.
- Along row 1, enter the tags needed (the required tags at the bare minimum) - Title, Value, Lookup
- Down column A, enter Option for each row that you will need
- Enter the data into the cells with the information needed. For a lookup, follow the example like below for data from your ERP, or enter the data for the drop-down list by hand as an array:

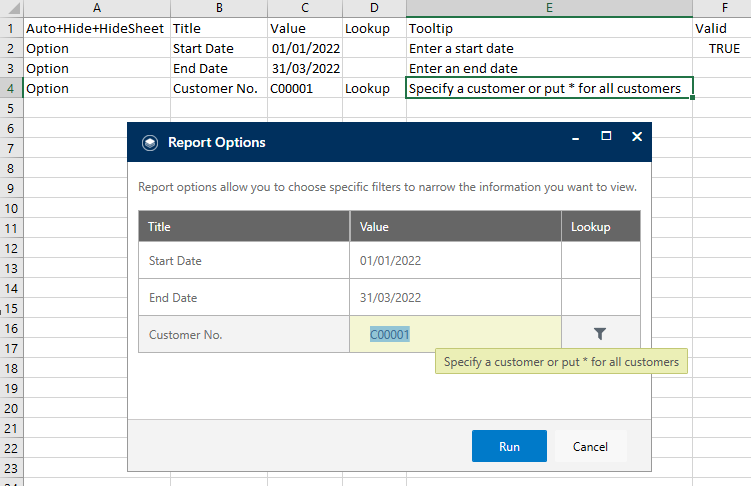
- Click Run in the ribbon ****to run the report. Now, each time the user goes to run the report, they will be presented with a popbox where they can enter their required parameters.


